If you’re looking for a natural, eco-friendly method to manage weeds, learning how to solarize garden soil is the perfect solution.
This article will guide you through the process of solarizing garden soil, detailing the benefits, step-by-step instructions, and essential tips to successfully eliminate those pesky weeds.
What Is Solarization and How Does It Work?
Solarization is a method of using solar energy to heat the soil to a temperature that kills weeds, seeds, pests, and diseases. This technique involves trapping sunlight under a clear plastic sheet, creating a greenhouse effect that raises the soil temperature to levels that are detrimental to unwanted plants.
- Soil temperature can exceed 140°F (60°C) during the solarization process.
- The duration of this heating is typically 4 to 6 weeks, depending on local climate conditions.
- Moisture plays a critical role, as it helps heat penetrate the soil more effectively.
This natural process not only kills weeds but also contributes to improving soil quality by promoting beneficial microbial activity once the weeds are gone.
Why Should You Use Solarization in Your Garden?
There are several compelling reasons to consider solarization when managing weeds:
-
Chemical-Free: Solarization eliminates the need for herbicides or other chemicals that can harm the environment.
-
Effective Weed Control: It targets a broad range of weed species, making it a highly effective method.
-
Disease and Pest Management: The high soil temperatures can kill soil-borne pathogens and pests, promoting healthier plant growth.
-
Improves Soil Health: By enhancing the overall microbial activity in the soil after the weeds are gone, solarization can improve soil structure and fertility.
How Do You Solarize Garden Soil? A Step-by-Step Guide
Now that you know the benefits, let’s dive into the practical steps on how to solarize garden soil effectively.
Step 1: Choose the Right Time
The best time to solarize is during the hottest months of the year.
- Sunshine is key: Longer days and ample sunshine help heat the soil effectively.
- Prepare in advance: Ensure you can leave the plastic in place for at least 4-6 weeks without interruption.
Step 2: Prepare the Soil
Before you begin, it’s important to prepare the soil:
- Clear the Area: Remove any existing weeds, debris, and plant material from the garden bed.
- Soil Tilling: Loosen the soil using a shovel or tiller. This helps improve aeration and allows better heat penetration.
Step 3: Add Moisture
Moisture is essential for effective solarization:
- Water the Soil: Thoroughly water the prepared soil until it’s moist but not waterlogged.
- Retain Moisture: Moisture will absorb solar energy better and help sustain heat.
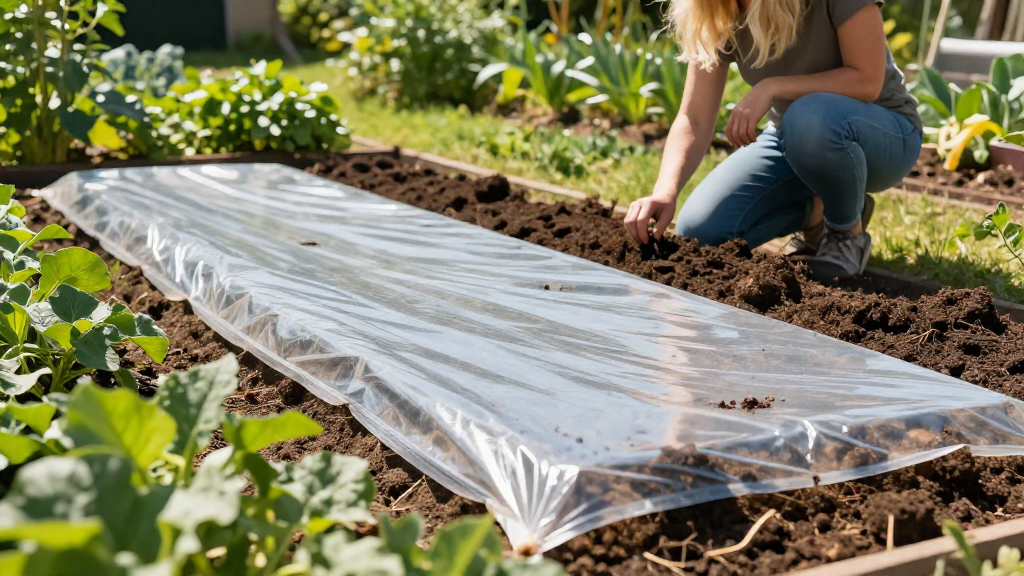
Step 4: Cover the Soil
Choose a clear plastic sheet for the next steps:
- Plastic Thickness: Use 3-4 mil (millimeter) clear polyethylene plastic.
- Overlap Edges: Lay the plastic over the soil, ensuring it overlaps the edges of the area you are solarizing to trap heat effectively.
Step 5: Secure the Edges
To ensure your plastic does not blow away and maximum heat is contained, secure the edges:
- Use Weight: Weigh down the edges with soil, rocks, or bricks.
- Tight Fit: Make sure the plastic is tight against the soil to maximize solar effect.
Step 6: Monitor the Process
Keep an eye on the solarization process:
- Temperature Checks: If possible, monitor soil temperature using a soil thermometer.
- Look for Changes: After a few weeks, observe any changes in weed growth and soil condition.
Step 7: Remove the Plastic
After 4 to 6 weeks, it’s time to remove the plastic:
- Check Effectiveness: You should notice that many, if not all, of the weeds have died.
- Aerate the Soil: Once the plastic is removed, aerate the soil lightly to encourage microbial activity.
Step 8: Plan for Planting
Once the solarization process is complete, you can start planting your desired crops:
- Soil Amendments: Consider adding organic compost or fertilizers to boost soil health.
- Monitor New Growth: Keep an eye on any new weed growth and address it quickly to maintain a healthy garden environment.
Tips and Tricks for Successful Solarization
To ensure your solarization process goes smoothly and achieves optimal results, consider these additional tips:
-
Location Matters: Choose an area that receives full sunlight throughout the day to maximize heating.
-
Use Dark Plastic: If you have tough weeds, using dark plastic can sometimes be even more effective, as it will heat up faster.
-
Avoid Cold Weather: Don’t attempt solarization during cold or cloudy months when temperatures won’t reach the needed levels.
-
Repeat Annually: Depending on your garden’s weed pressure, consider solarizing each year for long-term control.
What to Do After Solarization?
After solarization, the soil will be free of many weeds and pests:
-
Prepare for New Crops: Plan your garden layout and prepare for planting.
-
Observe and Adjust: As you introduce new plants, continue to observe their health and any weed resurgence.
-
Consider Crop Rotation: Implement crop rotation strategies to further deter weeds and pests in your garden.
Conclusion
Learning how to solarize garden soil is an effective, environmental method for controlling weeds and ensuring healthy soil for your plants.
By following these steps, tips, and best practices, you will create a thriving garden that not only prevents weed growth but also supports your plants in flourishing.
Solarization represents a harmonious balance between gardening and nature, giving you effective means to manage weeds without compromising the health of the environment.
Ready to try solarization? Your garden will surely thank you!