If you’re looking for a natural and effective way to boost plant health, you’re in the right place.
In this article, we will explore how to make worm tea, a nutrient-rich liquid fertilizer that can help your plants thrive.
What Is Worm Tea?
Worm tea is a liquid fertilizer made from the castings of earthworms.
It’s rich in nutrients, beneficial microorganisms, and enzymes that enhance soil health and promote plant growth.
Why Should You Use Worm Tea?
- Nutrient-Rich: Contains essential nutrients like nitrogen, phosphorus, and potassium.
- Boosts Microbial Activity: Encourages beneficial bacteria and fungi in the soil.
- Enhances Soil Structure: Improves aeration, drainage, and water retention.
- Safe and Organic: Non-toxic and ideal for all types of plants, including vegetables and flowers.
Now that you understand the benefits, let’s dive into how to make worm tea!
How to Make Worm Tea: What Ingredients Do You Need?
To create your own worm tea, you’ll need a few essential ingredients:
-
Worm Castings: These are the primary ingredient and can be collected from your worm bin. If you don’t have your own worms, they can often be purchased at garden centers or online.
-
Water: Ideally, use chlorine-free water, such as rainwater or filtered water, to keep the beneficial microorganisms alive.
-
Air Pump (Optional): For aerated worm tea, which is known to have higher microbial activity.
-
Liquid Kelp or Molasses (Optional): These can boost nutrient content and microbial life.
Here’s a simplified list of what you need:
- Worm castings (about 1 cup)
- Water (1 gallon)
- Optional: air pump, liquid kelp, or molasses
How to Make Worm Tea: Step-By-Step Guide
Now that you have your ingredients ready, let’s get into the step-by-step process of how to make worm tea.
Step 1: Choose Your Method
There are two main methods for making worm tea: aerated and non-aerated.
-
Aerated Method: This method uses an air pump, producing a tea rich in beneficial microorganisms.
-
Non-Aerated Method: This is simpler and requires no special equipment, but the microbial count may be lower.
Step 2: Prepare Your Container
-
Use a clean, non-toxic container, such as a bucket.
-
Ensure it’s large enough to hold at least a gallon of liquid.
Step 3: Add the Worm Castings
-
For the aerated method, place 1 cup of worm castings in a porous bag or a strainer.
-
For the non-aerated method, simply pour the castings directly into the water.
Step 4: Mix with Water
-
Aerated Method: Fill the container with 1 gallon of chlorine-free water.
-
Attach the air pump to provide aeration, and stir carefully.
-
Let it sit for 24-48 hours.
-
Non-Aerated Method: After adding the worm castings to the water, let it steep for 3-5 days.
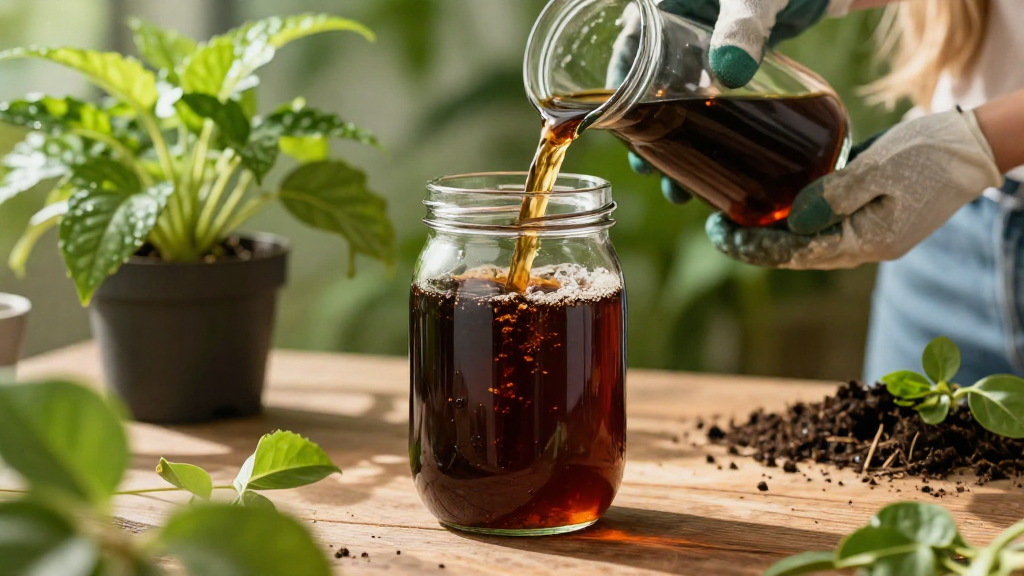
Step 5: Strain the Mixture
-
After the steeping time, use a fine mesh strainer or cloth.
-
Strain the liquid into another container, ensuring no solid castings remain.
Step 6: Optional Add-Ins
- Consider adding a tablespoon of liquid kelp or molasses before straining.
These ingredients can enhance the nutrient profile of your worm tea.
Step 7: Store and Use
-
Store excess worm tea in a cool, dark place and use within a week for optimal potency.
-
Apply worm tea directly to the soil or as a foliar spray for best results.
Important Note: Avoid using worm tea on plants during the hottest part of the day to prevent leaf burn.
How Often Should You Apply Worm Tea?
Your plants will benefit the most from worm tea when applied regularly.
Follow these guidelines for application frequency:
- Seedlings: Once every 2-4 weeks.
- Established Plants: Every 3-4 weeks during the growing season.
- Container Plants: Every 2 weeks for optimal health.
What are the Signs of Healthy Plants After Using Worm Tea?
After you start using worm tea, you should notice several signs of improvement in your plants:
- Lusher Growth: Leaves appear greener and more vibrant.
- More Flowers and Fruits: Increased production in flowering or fruiting plants.
- Fewer Pests and Diseases: Healthy plants are often more resistant to infestations.
How to Store Extra Worm Tea?
If you make more worm tea than you need, proper storage is crucial to maintaining its quality:
-
Keep it Cool: Store in a cool, dark place, away from direct sunlight.
-
Use Dark Containers: This can prevent algal growth and maintain microbial life.
-
Shelf Life: Use within 1-2 weeks for best results.
Can I Make Worm Tea Without Worms?
Yes!
If you do not have access to worm castings, you can also create a compost tea using high-quality compost.
Simply follow the same steps as above, substituting worm castings for compost.
However, keep in mind that the nutrient profile will differ somewhat.
Conclusion: Boost Your Garden with Worm Tea
Learning how to make worm tea is a simple process that can provide your plants with a powerful boost of nutrients.
With just a few ingredients and steps, you can harness the benefits of worm castings to enhance your garden’s health and productivity.
By incorporating worm tea into your gardening routine, you’ll not only promote stronger plants but also improve your soil’s structure and microbial activity.
Whether you’re an experienced gardener or just starting, this eco-friendly approach will lead to flourishing plants and a thriving garden!
So, roll up your sleeves, gather your materials, and start making worm tea today—your plants will thank you!