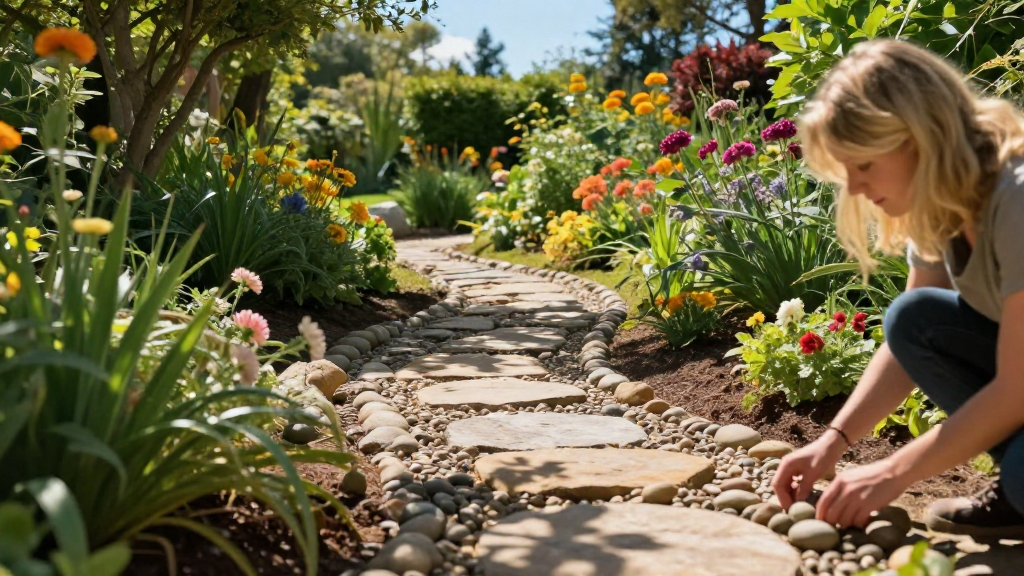
Creating a beautiful garden path can enhance the aesthetic appeal of your outdoor space. In this article, we’ll explore how to build a garden path using natural materials that are both eco-friendly and visually pleasing.
Why Choose Natural Materials for Your Garden Path?
Building a garden path with natural materials offers numerous benefits.
Natural materials blend seamlessly with your garden’s landscape, providing an organic feel that complements the surrounding flora and fauna.
Additionally, these materials are often:
- Sustainable: Natural options like stone, gravel, and wood are environmentally friendly.
- Durable: Many natural materials stand up well to weather and wear.
- Versatile: You can achieve a variety of styles, from rustic to modern.
What Materials Can You Use to Build Your Garden Path?
Understanding the right materials is crucial for mastering how to build a garden path. Below are some popular natural materials you can consider.
1. Flagstone
Flagstone is a classic choice for garden paths.
- Pros: It creates a strong and durable surface while appearing rustic and natural.
- Cons: It can be more expensive and requires careful installation.
You can lay flagstone slabs directly atop a bed of sand or gravel for a timeless path that stands the test of time.
2. Gravel
Gravel offers a versatile and cost-effective option.
- Pros: It’s readily available, easy to work with, and allows for excellent drainage.
- Cons: It may shift over time and require periodic replenishing.
You can mix different sizes of gravel for a visually interesting path.
3. Wood
Wooden paths can provide a warm and inviting touch to your garden.
- Pros: They are easy to install and can be customized in various shapes and sizes.
- Cons: Wood is susceptible to rot and may require regular maintenance.
Using pressure-treated lumber or cedar can enhance durability while maintaining a natural appearance.
4. Bark Mulch
Bark mulch creates a soft and organic path.
- Pros: It’s affordable and encourages soil vitality as it breaks down.
- Cons: It can wash away during heavy rains and may need to be replaced.
By placing the mulch about two to three inches thick, you can establish a natural walking area in your garden.
How to Plan Your Garden Path Layout?
Before diving into construction, it’s essential to plan your path layout effectively.
Step 1: Determine the Path’s Purpose
Consider where the path will lead.
- Is it a functional route to your shed or a decorative element leading through flower beds?
- Understanding its purpose will shape your design.
Step 2: Choose the Path’s Dimensions
Paths should be at least 2 to 3 feet wide for comfortable walking.
- Think about the flow of traffic and ensure there’s space for movement.
Step 3: Sketch Your Design
Create a rough sketch of your desired path.
- Incorporate curves or angles to break the straight lines and add interest.
- Visualizing your design can help you make adjustments before starting construction.
How to Build a Garden Path?
Now that you have your materials selected and your design planned, let’s dive into how to build a garden path step-by-step.
Step 1: Gather Your Tools and Materials
Prepare for the project by gathering the necessary tools:
- Shovel
- Rake
- Garden hose (to outline curves)
- Level
- Tamper
Ensure you have chosen your natural materials, whether flagstone, gravel, or wood.
Step 2: Mark the Pathway
Using a garden hose, outline the shape of your path on the ground.
- This will help you visualize it and make adjustments as necessary.
- Once satisfied, mark the outline with stakes and string.
Step 3: Excavate the Area
Dig out the marked pathway to a depth of about 4 to 6 inches.
- Make sure to remove grass, roots, and rocks.
- Use a level to keep even depth throughout the path.
Step 4: Create a Base Layer
Depending on the materials, you may need to create a base layer:
- For gravel paths: Add a 2-inch layer of crushed stone for drainage.
- For flagstone: A sandy base improves stability.
Use your tamper to compact the base.
Step 5: Install Your Chosen Material
Now, it’s time for the fun part!
Install your chosen material firmly into position.
- For flagstone: Lay each slab carefully, ensuring a slight gap for jointing material.
- For gravel: Spread evenly, making sure to fill the base layer adequately.
- For wood: Create a frame if necessary and lay boards in place.
Step 6: Finish the Edges
To complete the look of your path, ensure neat edges.
- Use stones or timber to create a border.
- This will prevent erosion and keep your path looking tidy.
Step 7: Add Final Touches
Once your garden path is laid:
- Fill gaps with small pebbles or soil if necessary.
- Add plants or decorative elements along the sides to enhance the visual appeal.
What Maintenance is Required for Your Garden Path?
To ensure your path remains beautiful and functional, regular maintenance is key.
1. Weekly Inspection
Regularly check for:
- Displaced materials
- Weeds
- Erosion
2. Seasonal Cleaning
Remove debris like fallen leaves or dirt buildup.
Sweeping or washing with a garden hose can help maintain clarity.
3. Replenishing Materials
Over time, you may need to replenish gravel, wood mulch, or other materials to keep your path looking fresh.
4. Managing Weeds
Consider using weed barrier cloth to keep unwanted vegetation at bay.
This can make your path maintenance easier and keep it beautiful year-round.
Conclusion
By following this guide on how to build a garden path using natural materials, you’ll not only improve the aesthetics of your garden but also create a functional route for enjoying your outdoor space.
Choose the materials carefully, plan your layout, and customize the design to fit your style.
With a little patience and creativity, you’ll have a garden path that enhances your home’s exterior and invites guests to explore your stunning garden oasis.