Are you intrigued by the idea of growing microgreens but don’t know how to grow microgreens without soil?
This article will guide you through the process of cultivating your own delicious, nutritious microgreens right in your home.
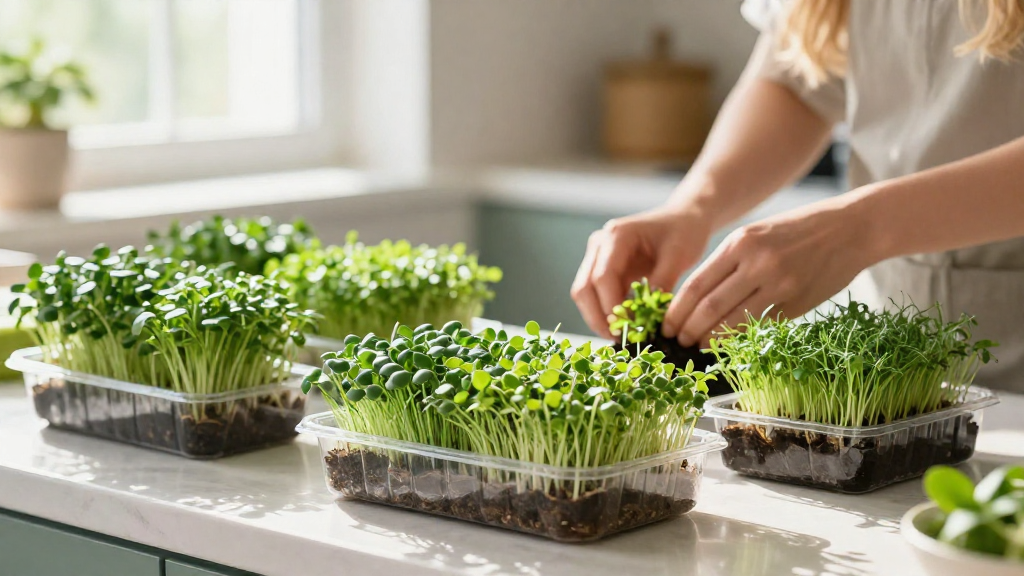
Microgreens are young edible plants that pack a flavor punch and are rich in vitamins, and growing them without soil is easier than you might think! Let’s dive into this method that’s gaining popularity among gardening enthusiasts.
What Are Microgreens?
Microgreens are tiny, edible greens harvested just after the first true leaves, known as cotyledons, appear.
They can be grown from a variety of vegetables, herbs, and even some grains.
Common microgreens include:
- Sunflower
- Arugula
- Radish
- Basil
- Broccoli
These nutrient-dense plants are not only easy to grow but can be consumed in salads, sandwiches, and even as garnishes.
Why Grow Microgreens Without Soil?
You might be wondering, “Why choose soilless methods to grow my microgreens?”
Growing microgreens without soil has several advantages:
- Less Mess: Soil can be messy, but soilless methods eliminate that problem.
- Faster Growth: Many soilless mediums can promote faster germination and growth.
- Reduced Pests: No soil often means fewer pests and diseases.
- Convenience: Ideal for indoor gardening, they require less space and can be grown in various containers.
How to Grow Microgreens: Which Soilless Medium Should You Use?
Now that you understand the benefits, let’s discuss which soilless mediums you can use to grow microgreens.
There are several options available, and each has its unique characteristics:
- Coconut Coir: Made from coconut husks, coir retains moisture well and is an excellent eco-friendly option.
- Hydroponic Mats: These mats, made from synthetic materials, provide a flat growing surface that allows for easy water drainage and root access.
- Rockwool: This mineral-based medium is excellent for retaining moisture without becoming soggy.
- Paper Towels: Surprisingly, absorbent paper towels can be a simple and effective medium for growing microgreens.
Choose the medium that best suits your preferences and available materials.
What Supplies Do You Need to Grow Microgreens?
To set yourself up for success, it’s essential to gather your supplies before starting your microgreen garden. Here’s a quick list of what you’ll need:
- Seeds for microgreens
- Soilless medium (as discussed above)
- Containers (shallow trays or even recycled plastic containers)
- Spray bottle for watering
- Plastic wrap or a clear lid to create humidity
- Light source (natural light or grow lights)
Having the right supplies on hand will make the process smoother and more enjoyable.
How to Grow Microgreens Step-by-Step
Now that you have your supplies, you’re ready to learn how to grow microgreens effectively.
Follow these simple steps for successful germination and growth:
1. Prepare the Containers
- Select containers that are shallow but wide enough to allow for growth – about 2 to 3 inches deep is perfect.
- Make drainage holes if they aren’t already present; excess water can lead to mold or root rot.
2. Add the Soilless Medium
- Fill the containers with your chosen soilless medium to a depth of about 1 inch.
- Level the surface to ensure even growth and water distribution.
3. Sow Your Seeds
- Sprinkle your microgreen seeds evenly across the surface of the medium.
- For best results, use a variety of seeds, but avoid overcrowding the seeds.
- Lightly press the seeds down into the medium to ensure contact.
4. Watering
- Using a spray bottle, gently mist the surface to moisten the medium without oversaturating it.
- Cover the containers with plastic wrap or a clear lid to maintain humidity during germination.
5. Create the Perfect Environment
- Place your containers in a location with bright, indirect sunlight.
- If natural light isn’t adequate, use grow lights for 12-16 hours a day.
- Maintain temperatures between 65°F to 75°F (18°C to 24°C) for optimal growth.
6. Water Regularly
- Check the moisture level daily; keep the medium damp but not soaked.
- Remove the plastic cover once you see seedlings emerging.
7. Harvesting Your Microgreens
- Microgreens are typically ready for harvest in about 7 to 21 days.
- When they reach about 2-4 inches tall and have developed their first true leaves, it’s time to harvest.
- Use scissors to cut the microgreens just above the growing medium.
How to Store and Use Your Home-grown Microgreens
Once you’ve harvested your microgreens, proper storage is essential.
Here are some simple storage tips:
- Store them in a sealed container in the refrigerator.
- Use slightly damp paper towels to prolong freshness.
- Consume within a week for the best flavor and nutrient retention.
Using microgreens is just as fun as growing them.
Here are a few ideas on how to incorporate them into your meals:
- Salads: Toss a handful into your salads for added flavor.
- Sandwiches: Use them as a crunchy filling in sandwiches or wraps.
- Smoothies: Blend them into smoothies for an extra nutrient boost.
- Garnishes: They add color and flavor to soups or dishes.
Conclusion: How to Grow Microgreens at Home Without Soil
In conclusion, learning how to grow microgreens without soil is an easy, rewarding process.
Not only do these tiny powerhouses enhance your dishes with flavors and nutrients, but they also bring the joy of gardening into your home—without the mess of soil!
By following the steps outlined in this article, you can successfully cultivate your own microgreens, all while enjoying the numerous benefits of soilless growing techniques.
Don’t hesitate; get started today and relish the satisfaction of having fresh microgreens at your fingertips!