Are you ready to transform your gardening experience? In this article, we’ll explore how to make a raised bed for gardening, taking you step-by-step through the entire process. Raised beds offer numerous benefits, such as improved drainage, better soil quality, and easier access for maintenance. Let’s dive in!
Why Use a Raised Bed for Gardening?
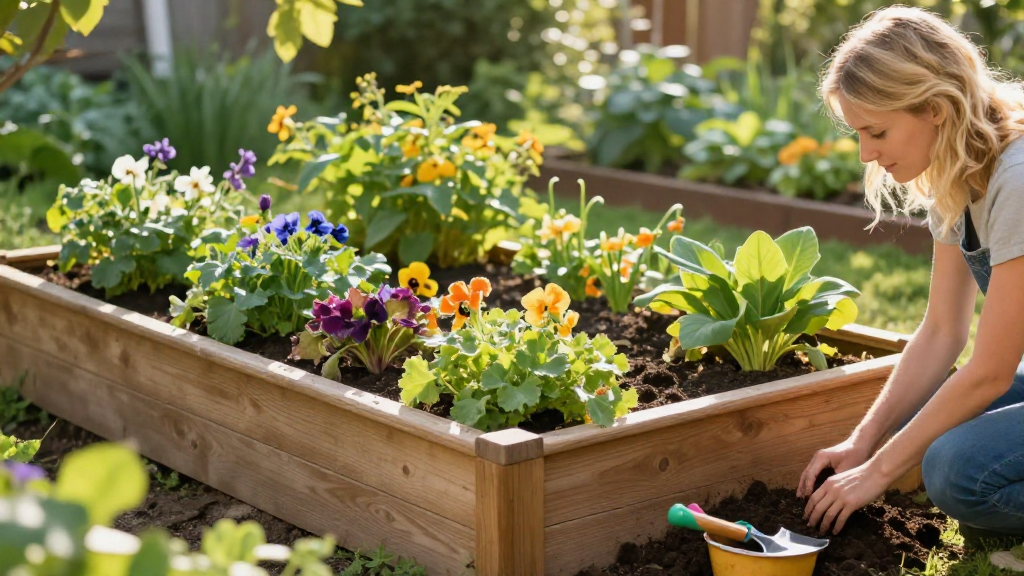
A raised bed garden provides an ideal growing environment.
But why should you consider making one? Here are some compelling reasons:
- Improved Drainage: Raised beds allow for superior water drainage, preventing overwatering and root rot.
- Enhanced Soil Quality: You can control the soil mixture, ensuring it’s nutrient-rich and well-aerated.
- Easier Access: Taller beds reduce the need for bending over, making gardening more accessible for individuals with mobility issues.
- Extended Growing Season: The soil in raised beds tends to warm up faster in the spring, letting you start planting earlier.
- Pest Control: Elevated beds can deter pests like slugs and certain rodents.
Now that we understand the importance, let’s focus on how to make a raised bed that suits your gardening needs!
What Materials Do You Need?
Before starting, you’ll need to gather the following materials:
- Wood: Use untreated cedar, redwood, or composite wood. Avoid pressure-treated wood, as it may contain harmful chemicals.
- Soil: A mixture of good-quality topsoil, compost, and peat moss is ideal.
- Tools: You’ll need a saw, drill, screws, and a measuring tape.
- Landscaping Fabric: This helps to prevent weeds from coming into your raised bed.
- Optional: Corner brackets for added support and a landscape fabric or mesh for the bottom.
How Do You Choose the Right Location?
Choosing the perfect location is critical for a successful raised bed garden.
Here are a few tips to consider:
- Sunlight: Most vegetables require at least 6-8 hours of sunlight daily. Ensure your chosen spot is sunny.
- Drainage: Avoid low areas where water might pool. Look for well-drained, flat ground.
- Accessibility: Choose a location that is easy to access for maintenance, watering, and harvesting.
- Proximity: Position your raised bed close to your kitchen for easy access to fresh ingredients.
How to Make a Raised Bed? Step-by-Step Guide
Step 1: Determine Dimensions
Decide on the dimensions of your raised bed. Typical sizes range from:
- 4×4 feet: Ideal for smaller spaces and easy maintenance.
- 4×8 feet: Suitable for larger gardens and allows for more variety.
- Width: Ensure the width doesn’t exceed 4 feet to allow easy access from both sides.
Step 2: Prepare the Site
Prepare your site by:
- Clearing the Area: Remove grass, weeds, and debris from the area where the raised bed will sit.
- Leveling the Ground: Ensure the ground is level to avoid drainage issues.
- Laying Landscaping Fabric: Optional, but recommended to deter weeds.
Step 3: Build the Frame
Construct the frame by following these steps:
- Cut the Wood: Measure and cut the wood to your desired lengths (two for the longer sides and two for the shorter sides).
For example:
– For a 4×8 bed, cut two pieces at 8 feet and two at 4 feet.
-
Assemble the Frame:
– Use screws to connect the pieces at the corners.
– For extra durability, use corner brackets. -
Check for Level: After building, ensure the frame is level on the ground.
Step 4: Place Your Frame
Once your frame is built, it’s time to place it on your chosen site.
Make sure it fits well within your space and is level.
Step 5: Add Soil
Fill your raised bed with soil. A good mixture consists of:
- 40% topsoil: The base soil that provides essential nutrients.
- 40% compost: To enrich the soil with organic matter.
- 20% peat moss or coconut coir: Helps retain moisture while maintaining aeration.
Step 6: Install a Bottom (Optional)
If you’re concerned about pests, you can install a layer of landscaping fabric on the bottom of the bed.
This will prevent weeds and unwanted pests from entering while allowing moisture to drain.
Step 7: Plant Your Garden!
Now you’re ready to plant!
Follow these tips:
- Choose the Right Plants: Opt for plants suited to your climate and the season.
- Plan for Spacing: Ensure adequate spacing between plants for growth.
- Consider Companion Planting: Plant compatible crops together to maximize growth and pest resistance.
How Do You Maintain Your Raised Bed?
Maintaining your raised bed is essential for a successful garden. Here are some maintenance tips:
- Watering: Regularly check moisture levels. Raised beds may need more frequent watering due to drainage.
- Weeding: Keep an eye out for weeds and remove them promptly.
- Soil Amendment: Add compost annually to replenish nutrients.
- Crop Rotation: Rotate crops each season to maintain soil health.
Common Mistakes to Avoid
When learning how to make a raised bed, be mindful of these common pitfalls:
- Choosing the Wrong Location: Ensure the bed is placed in a sunny, accessible area.
- Using Treated Wood: Always opt for untreated wood for safety and health reasons.
- Neglecting Drainage: Ensure proper drainage to prevent waterlogging.
- Ignoring Soil Quality: Take time to create a rich, nutrient-filled soil mixture.
Final Thoughts
Learning how to make a raised bed for gardening is a rewarding experience that opens up new opportunities for growing your favorite plants.
By following the steps outlined in this guide, you can create a thriving garden space that enhances your home while providing fresh produce.
So grab your materials, plan your layout, and let’s get gardening! Happy planting!