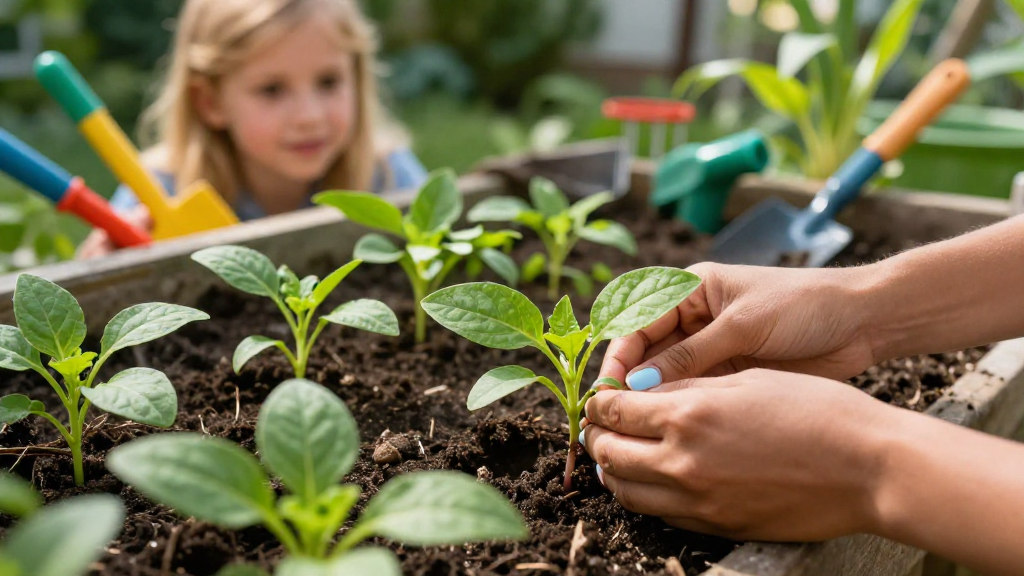
When it comes to gardening, understanding how to thin seedlings is essential for ensuring healthy plant growth.
What Does Thinning Mean for Seedlings?
Thinning seedlings is the process of removing some plants to give the remaining ones more space and nutrients to grow.
Overcrowded seedlings often compete for resources like light, water, and nutrients, which can stifle their growth and lead to weak, unhealthy plants.
Properly thinning seedlings is a delicate task, as you want to ensure the best plants have the room they need while avoiding damage to others.
Here are some effective methods and tips on how to thin seedlings successfully without causing harm to the remaining plants.
Why is Thinning Important?
Before delving into how to thin seedlings, it’s crucial to understand its importance.
-
Nutrient Allocation: Thinning ensures that the remaining seedlings get adequate access to nutrients and water.
-
Air Circulation: When seedlings are spread out, they have better air circulation, reducing the risk of fungal diseases.
-
Light Exposure: Thinned plants receive more sunlight, which is vital for photosynthesis and healthy growth.
When Should You Thin Seedlings?
Timing is key when learning how to thin seedlings.
Most gardeners will find that thinning should occur when seedlings have developed their first true leaves.
These are the leaves that appear after the initial seed leaves (cotyledons) and indicate that the plants are strong enough to survive.
It’s essential to keep an eye on seedling growth, monitoring for signs of overcrowding:
-
Stunted Growth: Seedlings that are not developing as expected may need thinning.
-
Yellowing Leaves: This can indicate a lack of light, possibly due to overcrowding.
-
Leggy Growth: Seedlings reaching towards the light suggests that they are competing for space.
How to Thin Seedlings: Step by Step Guide
Here’s a comprehensive guide on how to thin seedlings without damaging others:
1. Gather Your Tools
Before you begin, gather the necessary tools:
-
Scissors or Snips: Sharp, clean tools will help prevent unnecessary damage.
-
Tweezers: For delicate seedlings, tweezers can offer precision.
-
Small Container: Use this to hold the removed seedlings.
2. Assess the Seedlings
Take a moment to observe your planting area.
-
Evaluate Growth: Look for healthy, robust seedlings and those that are weak or leggy.
-
Spacing Requirements: Understand the ideal distance between seedlings based on the species you’re growing.
3. Prepare to Thin
Use the following methods to thin your seedlings effectively:
-
Selective Thinning: Remove the weakest seedlings while leaving the strongest ones intact.
-
Pinching Technique: For delicate seedlings, gently pinch off the weaker plants at the base instead of cutting, which minimizes risk to neighboring plants.
-
Snipping Technique: When using scissors or snips, cut at the base of the stem to avoid disturbing the roots of the surrounding seedlings.
4. Execute Thinning with Care
Follow these best practices while thinning:
-
Work Slowly: Take your time to avoid accidentally damaging the nearby seedlings.
-
Thinning in Stages: If the seedlings are extremely crowded, consider thinning in stages rather than all at once.
-
Water after Thinning: After you’ve finished thinning, water the remaining seedlings lightly to help them recover from any stress.
What Should You Do with the Thinned Seedlings?
Now that you know how to thin seedlings, you may wonder what to do with the plants you’ve removed.
-
Transplanting: If they are healthy, consider transplanting them to another area or giving them away to friends.
-
Composting: If the thinned seedlings are weak or diseased, compost them instead of replanting.
-
Culinary Use: Some seedlings, like those of herbs, can be harvested and used in cooking.
Are There Any Alternatives to Thinning?
If you’re looking for ways to succeed without traditional thinning, consider these alternatives:
-
Sowing Seeds at the Correct Spacing: When planting seeds, space them farther apart to reduce the need for thinning later.
-
Using Larger Containers: Providing ample space from the start can help prevent overcrowding.
-
Direct Seeding: In some cases, it may be beneficial to sow seeds directly in their final location to avoid overcrowding.
How to Maintain Healthy Seedlings Post-Thinning?
After you learn how to thin seedlings, it’s important to maintain their health:
-
Regular Watering: Ensure they receive consistent moisture but avoid overwatering, which can lead to root rot.
-
Fertilization: After thinning, apply a balanced fertilizer to support the remaining plants.
-
Pest Management: Keep an eye out for pests that may be more attracted to the single plants now exposed.
-
Mulching: Use mulch to retain moisture and regulate soil temperature.
Conclusion
Understanding how to thin seedlings is a vital skill for any gardener.
By following the steps outlined in this guide, you can ensure that your seedlings have the best chance to thrive without damaging the others.
Remember, a successful thinning technique not only promotes healthy growth but also enhances the overall yield of your garden.
With care, attention, and a little practice, you’ll become proficient in this essential gardening technique in no time! Happy gardening!