Growing garlic is a rewarding gardening experience that many enthusiasts cherish.
This guide will teach you how to grow garlic from a clove successfully.
What Do You Need to Start Growing Garlic?
Before diving into the steps on how to grow garlic, it’s essential to gather the right supplies.
Here’s a handy list of what you’ll need:
- Garlic cloves: Purchase quality garlic bulbs from a reliable source, preferably organic.
- Soil: Well-draining, nutrient-rich soil is critical for healthy garlic growth.
- Fertilizer: Organic options like compost or a garlic-specific fertilizer work best.
- Watering supplies: A watering can or a hose with a spray nozzle will help manage moisture levels.
- Sunlight: Ensure you have a location with at least 6-8 hours of direct sunlight daily.
How Do You Choose the Right Garlic Cloves?
When learning how to grow garlic, selecting the right garlic cloves is crucial for successful growth.
There are two primary types of garlic:
- Hardneck Garlic: Known for its robust flavor and larger cloves. It thrives in colder climates.
- Softneck Garlic: More commonly found in grocery stores, it’s easier to store and is typically preferred for warmer climate areas.
Choose plump, healthy cloves for planting.
Avoid any that appear dried out, molded, or damaged.
When is the Best Time to Plant Garlic?
Timing is essential in learning how to grow garlic effectively.
In general, garlic is best planted in the fall, about 4-6 weeks before the ground freezes.
If you live in a warmer climate, you can also plant garlic in early spring.
Here are a few tips for optimal timing:
- Fall Planting: Aim for September to November, depending on your climate.
- Spring Planting: Look for a window from late March to early May.
- Soil Temperature: Ensure the soil temperature is between 50°F to 70°F for best results.
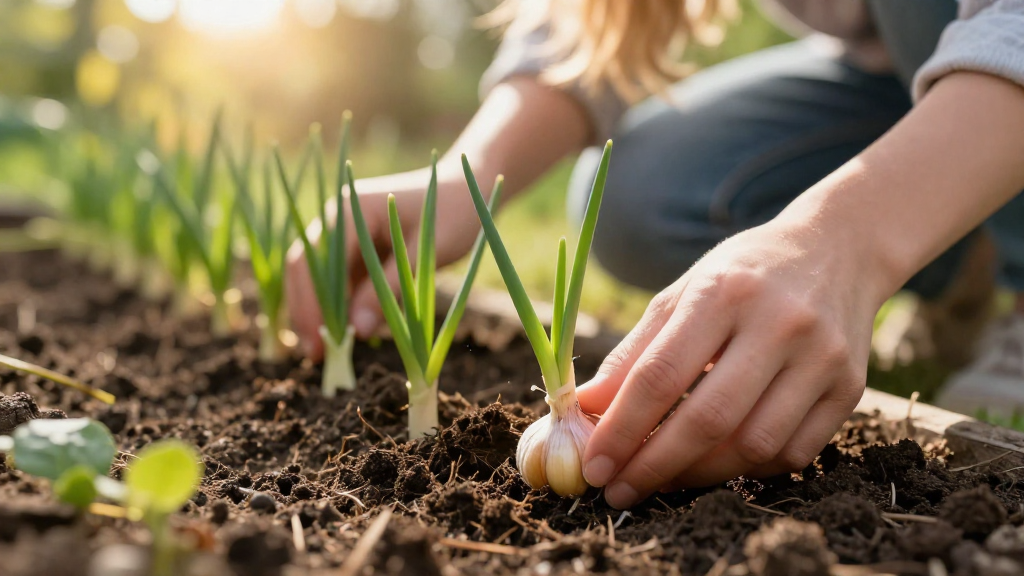
How to Plant Garlic Cloves?
Now that you’ve prepared the season and selected your cloves, let’s discuss how to grow garlic from planting your cloves.
Steps for Planting Garlic:
-
Prepare the Soil:
– Ensure your soil is loose and well-draining.
– Mix in compost or a balanced fertilizer to enrich the soil. -
Separate the Cloves:
– Gently break apart the garlic bulb into individual cloves.
– Keep the papery skins intact, as they protect the cloves during growth. -
Plant the Cloves:
– Create 2-inch deep holes, spacing them 4-6 inches apart.
– Place each clove with the pointy end facing up.
– Cover with soil and gently pack it down. -
Water Immediately:
– Water the cloves thoroughly to ensure moisture reaches the roots.
How Do You Care for Garlic After Planting?
Once you’ve planted your cloves, caring for them is key in how to grow garlic successfully.
Here’s a guide for optimal care:
- Watering:
- Ensure consistent moisture but avoid waterlogging.
-
Water less frequently in winter and more during dry summer months.
-
Fertilization:
- Apply fertilizer in early spring as the plants begin to sprout.
-
Use organic fertilizers or compost tea for better soil health.
-
Mulch:
- Adding a layer of mulch helps suppress weeds and retain soil moisture.
-
Grass clippings, straw, or hay make excellent mulching materials.
-
Pest Control:
- Watch for common pests like garlic bloat nematodes and onion maggots.
- Natural insecticides or companion planting can help mitigate these issues.
How to Harvest Garlic?
As your garlic matures, you’ll need to monitor its growth to know when to harvest.
Typically, garlic is ready to harvest when:
- Leaves Start Turning Yellow: About 2/3 of the leaves should be brown or yellow.
- Bulbs Feel Firm: Gently dig up one clove to check its size and firmness.
How to Harvest Garlic Properly
-
Loosen the Soil:
– Use a garden fork to carefully loosen the soil around the bulbs. -
Pull the Bulbs:
– Gently pull the garlic by its leaves, or lift it from the base.
– Avoid tugging too hard, as this may damage the bulbs. -
Clean the Bulbs:
– Shake off the excess dirt but avoid washing them as moisture can lead to rot. -
Cure the Garlic:
– Let the harvested garlic cure in a dry, dark place with good airflow for 2-4 weeks.
– This process enhances the flavor and long-term storage capabilities.
How Do You Store Garlic After Harvesting?
Proper storage of garlic is equally essential to prolong its usability.
Follow these guidelines to learn how to grow garlic effectively for long-term use:
- Dry Storage:
- Store in a cool, dark, and dry location.
-
Hanging garlic by braiding the stalks helps improve airflow.
-
Avoid Refrigeration:
- Refrigerating garlic can cause sprouting and spoilage.
-
Instead, keep it in mesh bags or paper bags at room temperature.
-
Freezing Garlic:
- If you have excess garlic, peel and chop or puree cloves, then freeze in airtight containers.
Frequently Asked Questions
Can I grow garlic in pots?
Yes, you can quickly grow garlic in containers. Just ensure the pot is deep enough (at least 10 inches) to accommodate the roots.
How long does it take for garlic to grow?
Garlic typically takes 6-8 months to mature, depending on the variety and growing conditions.
Is there a best way to use garlic?
In addition to its culinary uses, garlic boasts health benefits, such as improved heart health and immune support. Incorporating it into your diet can be incredibly beneficial.
Conclusion
Growing your own garlic is not only a fulfilling plant to grow but also adds flavorful benefits to your cooking. By following these steps on how to grow garlic from a clove, you can enjoy a bountiful harvest right from your garden.
Start your garlic growing journey today and savor the taste of homegrown garlic in your dishes!