Are you curious how to grow sprouts at home? This simple guide will walk you through the process, so you can enjoy fresh, nutritious sprouts right from your kitchen.
What Are Sprouts and Why Grow Them?
Sprouts are young shoots that emerge from seeds when they germinate. They are packed with vitamins, minerals, and are low in calories.
Benefits of Growing Sprouts:
- Nutrient-Rich: Sprouts contain high levels of vitamins A, C, E, K, and B vitamins.
- Easy to Digest: Sprouting breaks down complex starches and proteins, making them easier on your stomach.
- Quick Growth: Most sprouts are ready to eat in just a few days.
- Cost-Effective: Growing your own sprouts is much cheaper than buying them at the store.
Now that we know what sprouts are, let’s dive into how to grow sprouts at home!
What Materials Do You Need to Grow Sprouts in a Jar?
To grow sprouts at home effectively, you’ll need some basic materials. Here’s a simple list to get you started:
- A Clean Jar: A wide-mouth mason jar or any glass jar will work.
- Sprouting Seeds: Choose seeds like alfalfa, broccoli, radish, or clover.
- Water: Clean, filtered water is best.
- A Cheesecloth or Fine Mesh Lid: This allows for ventilation and easy rinsing of the seeds.
- A Rubber Band: For securing the cheesecloth, if using.
Optional Supplies:
- Sprouting Tray: For larger quantities or different types of sprouts.
- Dark Cloth: To cover the jars during the sprouting process.
Now that we have our materials, let’s explore how to grow sprouts at home in a jar!
How Do You Prepare the Seeds for Sprouting?
Before you start the sprouting process, it’s crucial to prepare your seeds properly.
-
Rinse the Seeds: Use a fine mesh sieve to rinse your seeds under cold water. This removes any debris.
-
Soak the Seeds: Place the rinsed seeds in your jar and cover them with water. Soak them for 4 to 8 hours, depending on the seed type. Check the seed packet for specific soaking times.
-
Drain: After soaking, drain the water. Use your cheesecloth or mesh lid to cover the top, allowing for drainage while keeping the seeds secure.
Why Soak the Seeds?
Soaking seeds activates enzymes that are essential for germination. It also helps soften their outer shell, making them easier to sprout.
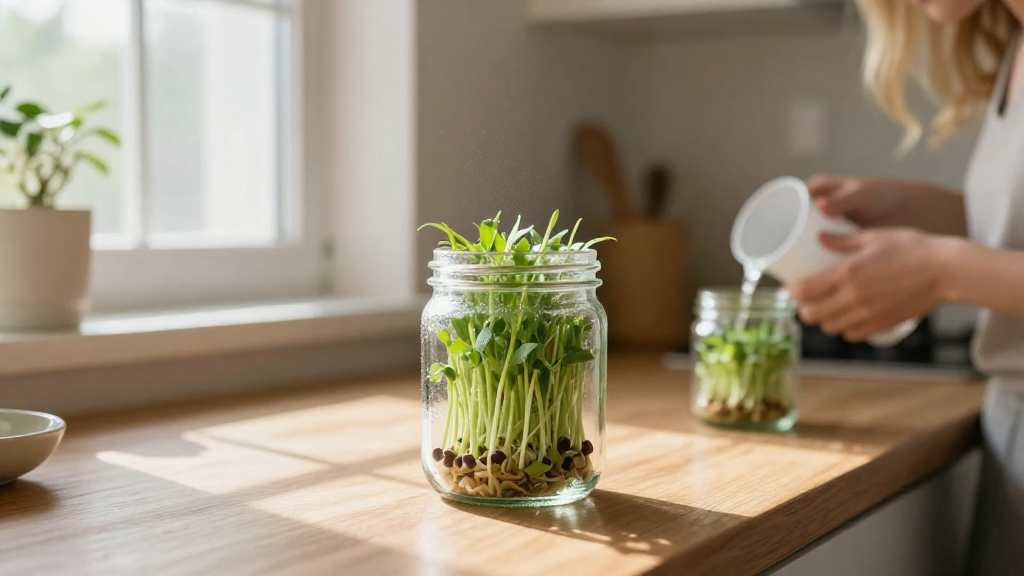
How Do You Grow Sprouts in a Jar?
Now that your seeds are prepped, let’s learn how to grow sprouts at home in your jar!
Step-by-Step Process:
-
Drain and Rinse: After soaking, rinse your seeds again with fresh water and drain well.
-
Position the Jar: Place the jar at an angle, preferably in a dark, warm place (around 70°F or 21°C). This helps create an ideal environment for sprouting.
-
Rinse Twice Daily: Twice daily, rinse the seeds with fresh water and drain them thoroughly. This keeps them moist but prevents mold growth.
-
Wait and Watch: Seeds will start sprouting in 2 to 7 days. You’ll see tiny shoots emerging from the seeds.
How Do You Know When Your Sprouts Are Ready?
Your sprouts are ready to eat when they are about 1 to 2 inches long. At this stage, they should be tender and crunchy.
How Do You Store Your Sprouts After Growing?
Once your sprouts have reached the desired length, it’s time to harvest and store them.
- Rinse Well: Rinse your sprouts under cold water one last time.
- Remove Unwanted Parts: Shake the jar to loosen any hulls or seed casings. Rinse again to remove them.
- Store in the Fridge: Transfer the cleaned sprouts to a breathable container, like a mesh bag or a jar with a loose lid. Store them in the refrigerator.
Tips for Storage:
- Keep them dry to avoid spoilage.
- Use within a week for the best flavor and texture.
What Are Some Uses for Home-Grown Sprouts?
Sprouts are incredibly versatile and can be added to a variety of dishes. Here are some delicious ways to incorporate them into your meals:
- Salads: Add a handful to your favorite salad for extra crunch and nutrition.
- Sandwiches: Place sprouts on sandwiches or wraps for added texture and flavor.
- Smoothies: Toss a small amount into smoothies for a nutrient boost.
- Stir-Fries: Add them towards the end of cooking for freshness.
- Garnish: Use sprouts as a decorative and tasty topping on soups or main dishes.
Can You Grow Different Types of Sprouts at Home?
Absolutely! You can grow a variety of sprouts at home, each with its unique flavor and nutritional profile.
Common Types of Sprouts:
- Alfalfa: Mild and crunchy—perfect for salads and sandwiches.
- Broccoli: Nutty flavor, high in sulforaphane, known for its health benefits.
- Mung Bean: Crisp and sweet, often used in Asian dishes.
- Radish: Spicy flavor, great for adding a kick to any dish.
- Lentil: Hearty sprouts that can be added to salads or cooked dishes.
Be sure to follow the same soaking and sprouting process for different types of seeds!
Conclusion: How to Grow Sprouts at Home Is Easy and Rewarding
Now that you are equipped with the knowledge on how to grow sprouts at home, it’s time to get started.
With just a few simple materials and steps, you can enjoy fresh, healthy sprouts right from your kitchen.
Remember: The key to successful sprouting is to rinse regularly, keep the seeds moist, and ensure proper drainage.
So grab your jar, pick your seeds, and begin your sprouting adventure today! Enjoy the vibrant flavors and health benefits of home-grown sprouts. Happy sprouting!